+1 (949) 942-1363
 info@easywayinstall.com
 New York
 Apps:
Apps:
 CART
CART



 Cart
Cart
 Dashboard
 Login
Login


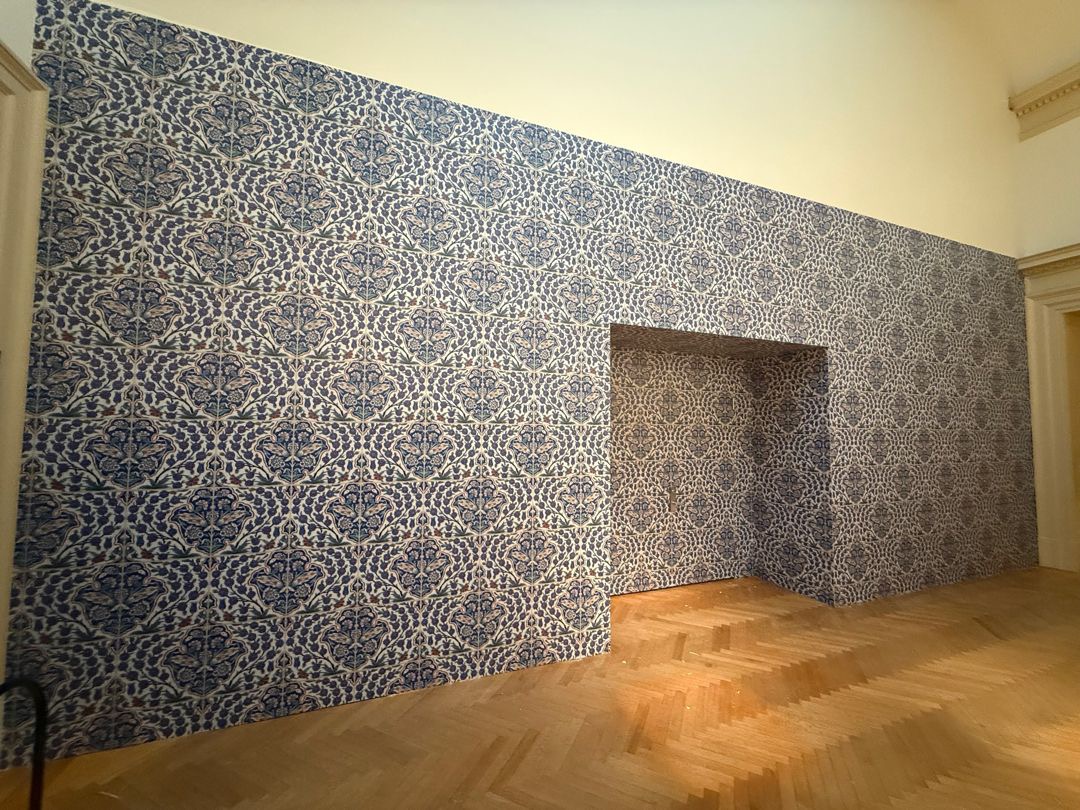
DreamScape Canvas Wallpaper Installation Guide: Can You Double Cut the Seams?
When installing premium wallcoverings, one of the most common questions is whether DreamScape Canvas wallpapercan be installed using the double-cut seam method. The answer is yes. In fact, double cutting is the preferred installation technique for achieving clean, professional-looking seams on most DreamScape Canvas wallcoverings.
Whether you're an experienced installer or planning your first commercial wallpaper project, following the proper installation process will help ensure a long-lasting, high-quality finish.
What Is a Double-Cut Seam?
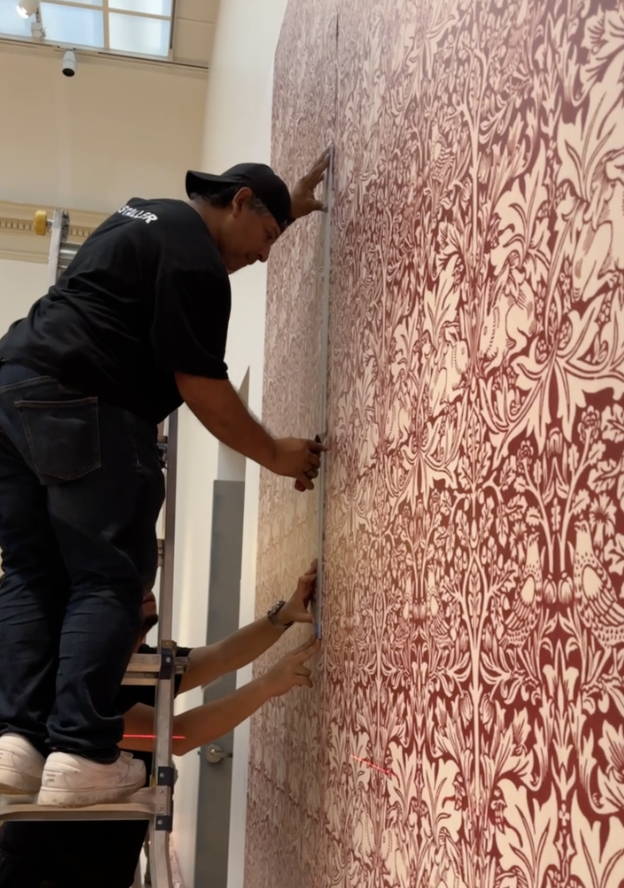
A double-cut seam is a technique where two overlapping wallpaper panels are cut simultaneously with a sharp knife. After removing the excess material from both panels, the edges fit together perfectly, creating a tight, nearly invisible seam.
This method is especially beneficial for:
- Custom printed wall murals
- Commercial wallcoverings
- Textured wallpaper
- DreamScape Canvas media
Can DreamScape Canvas Be Double Cut?
Yes. DreamScape recommends using a double-cut (splice) seam for most fabric-backed wallcoverings, including DreamScape Canvas.
For the best results:
- Overlap adjacent panels by approximately 1 inch.
- Align the printed image before cutting.
- Use a straightedge and a brand-new sharp blade.
- Remove both waste strips.
- Carefully smooth the seam together.
- Avoid cutting directly into the drywall by using a seam protection strip whenever possible.
#wallpaper #doublecut
Surface Preparation
Proper wall preparation is critical for a successful installation.
Before installing:
- Ensure the wall is clean, dry, and smooth.
- Repair any holes or surface imperfections.
- Sand rough areas.
- Remove dust and debris.
- Apply a quality wallpaper primer recommended for commercial wallcoverings.
Tools You'll Need
- Heavy-duty wallpaper adhesive
- Wallpaper brush or plastic smoother
- Utility knife with fresh blades
- Straightedge
- Laser level or 4–6 ft. level
- Cellulose sponge
- Clean microfiber towels
- Low-tack painter's tape
- Seam protection strip (recommended)
Step-by-Step Installation
1. Plan the Layout
Mark a perfectly plumb starting line and dry-fit all panels to verify the image alignment before applying adhesive.
2. Apply Adhesive
Apply adhesive evenly to the back of the wallpaper using the manufacturer's recommended paste.
Allow the material to book (fold pasted sides together) for approximately 10 minutes before hanging.
3. Install the First Panel
Position the first panel on your plumb line.
Using a wallpaper brush or smoother, work from the center toward the edges to remove air pockets.
Avoid excessive pressure on the printed surface.
4. Double-Cut the Seam
For each additional panel:
- Overlap the next panel by approximately 1 inch.
- Match the printed graphics precisely.
- Place low-tack tape beneath the overlap if needed to protect the face from adhesive.
- Using a straightedge and fresh blade, cut through both layers in one continuous pass.
- Remove both waste strips.
- Smooth both edges together for a seamless finish.
Important: Never cut directly into drywall. Use a seam protection strip whenever possible to prevent wall damage.
5. Clean Adhesive Immediately
Wipe away adhesive residue immediately using a damp cellulose sponge.
Rinse the sponge frequently and finish by drying the surface with a clean microfiber towel.
6. Inspect the Installation
Before continuing with the remaining panels:
- Check seam alignment.
- Verify image registration.
- Remove any remaining air bubbles.
- Ensure there is no adhesive residue on the surface.
Inspecting the first few panels before proceeding can help prevent costly installation issues.
Professional Installation Tips
- Replace knife blades frequently for clean cuts.
- Never burnish or aggressively rub the printed surface.
- Maintain a consistent room temperature during installation and curing.
- Keep seams away from inside corners whenever possible.
- Test adhesion and print alignment before completing the full installation.
Why Professional Installers Use Double-Cut Seams
Double-cut seams create a cleaner, more professional appearance than standard butt seams, particularly on digitally printed graphics and textured wallcoverings. When performed correctly, the seam becomes nearly invisible while maintaining excellent long-term durability.
Need Professional Wallpaper Installation?
At Easy Way Install, we specialize in commercial wallpaper, wall murals, DreamScape wallcoverings, environmental graphics, and large-format printed installations across the United States.
Our experienced installation team ensures every project is completed with precise alignment, clean seams, and exceptional attention to detail.
Contact Easy Way Install today to schedule your next DreamScape Canvas wallpaper installation and experience a seamless finish done right.