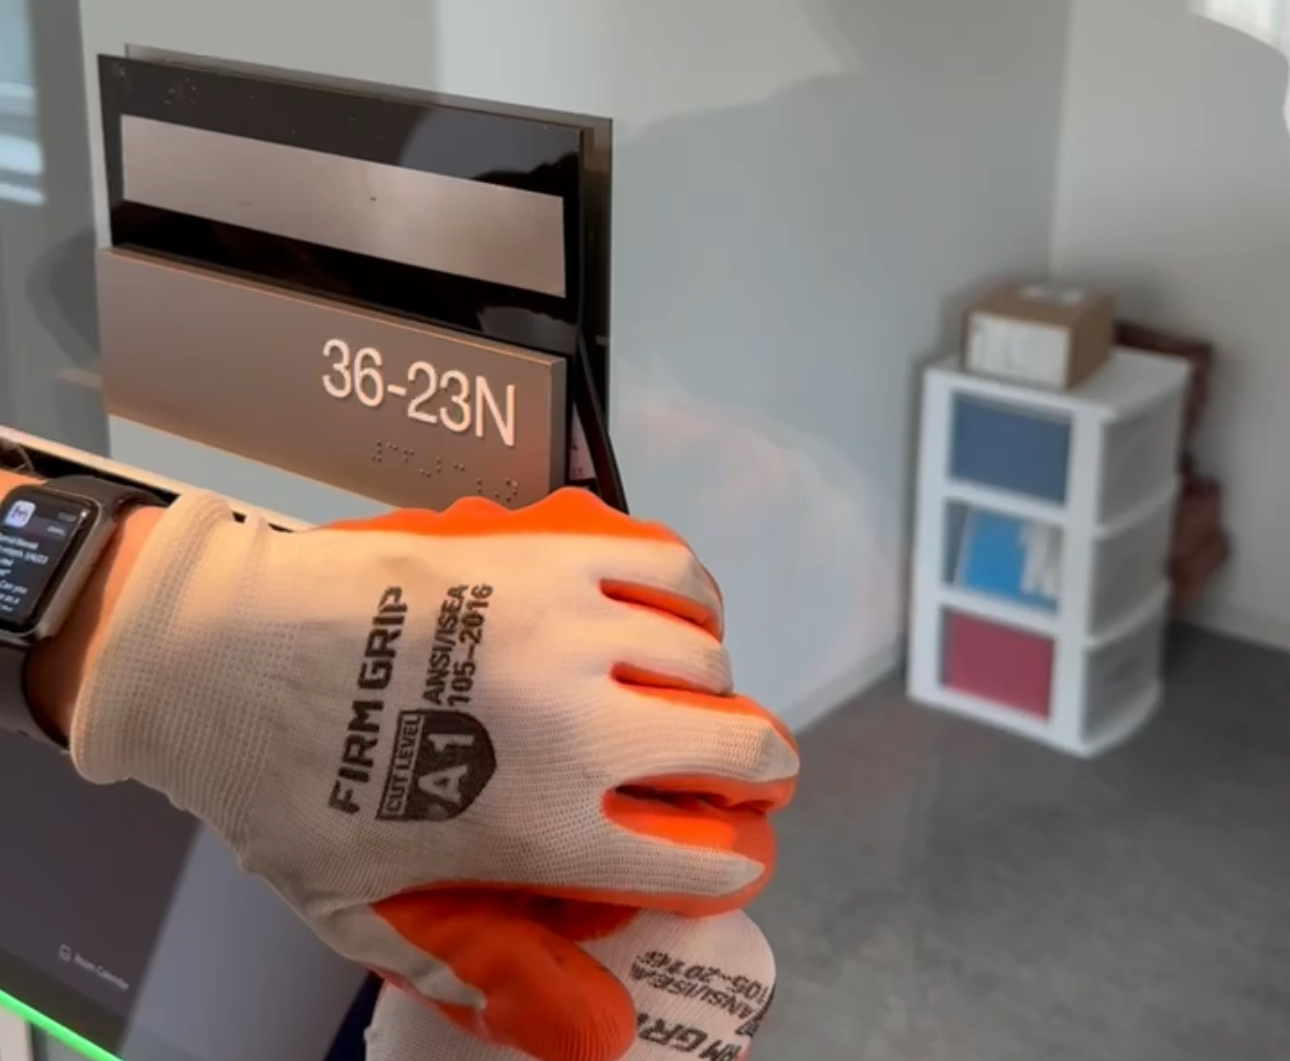
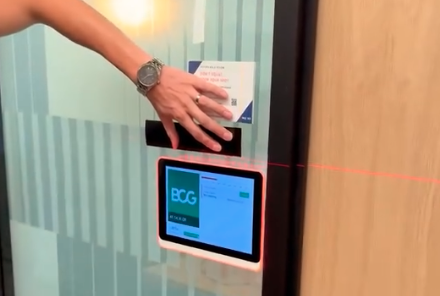
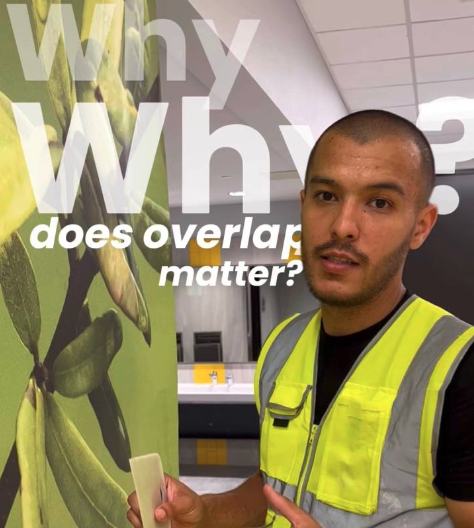
The process of removing ADA signs might seem challenging, but with the right tools and techniques, it can be done quickly and safely. Here are the main steps we follow:
1. Spatula: This is the main tool for carefully removing the sign without damaging the surface.
2. Cleaning Solution: After removing the sign, it's important to get rid of the adhesive and material residue. A special cleaning solution helps to easily clean the surface.
3. Sponge: The final step is thoroughly cleaning the surface to prepare it for further work or simply restoring a clean appearance.
This process not only ensures the sign is removed without damaging the surface but also guarantees cleanliness and readiness for new installations.
We’ll walk you through each step to demonstrate how it's done professionally!
YOU PRINT. WE INSTALL! 💪
Got a project in mind? Shoot us an email at 📧info@easywayinstall.com or visit 🌍easywayinstall.com And don't forget, give us a ring at 📞 949 -942-1363 for a free consultation!


