In this video, I will show you the step-by-step process of installing an ADA (Americans with Disabilities Act) sign. You will learn how to use essential tools such as a measuring tape, laser level, tripod, cleaning solution, and rack.
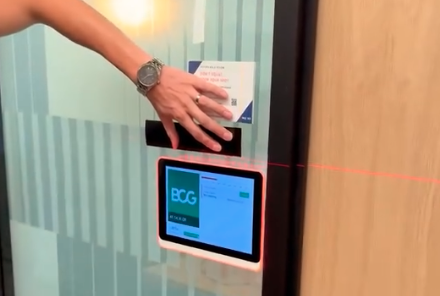
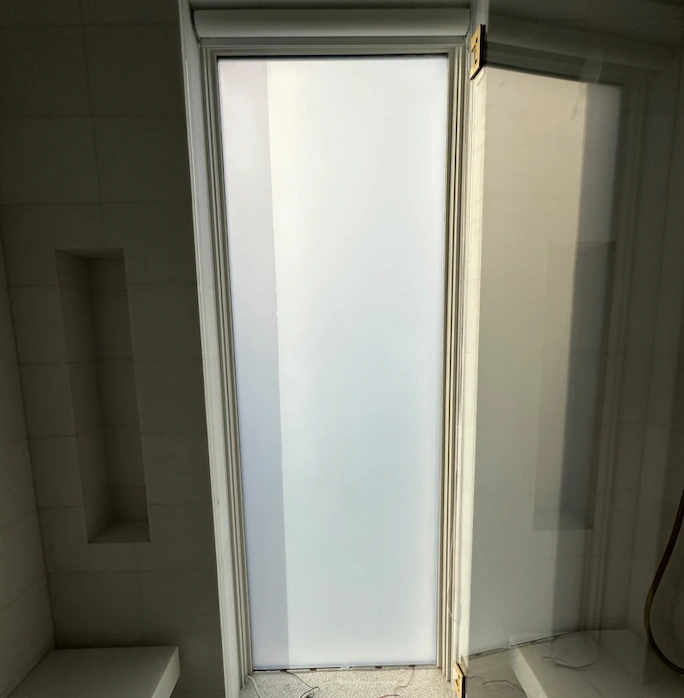
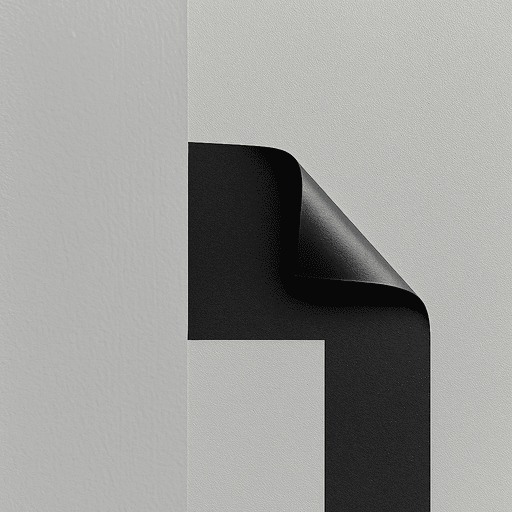
First, we will measure the height for the sign to ensure it meets ADA requirements. Next, we will set up the laser level and tripod for perfect alignment. After that, we will clean the surface with a cleaning solution for proper adhesion. Then, we will install the backer and remove the protective film from the double-sided tape. Finally, we will carefully place the sign and press it firmly to ensure it stays in place.
By following these steps, you will be able to install your ADA sign accurately and securely. Be sure to watch the video for detailed instructions!
YOU PRINT. WE INSTALL! 💪
Got a project in mind? Shoot us an email at 📧info@easywayinstall.com or visit 🌍easywayinstall.com. And don't forget, give us a ring at 📞(949) 942-1363 for a free consultation!